How to submit an affidavit online in Ontario

TL;DR:
- Ontario courts require affidavits to be in PDF or DOCX format, notarized, and within size and page limits.
- Proper preparation, including verifying remote notarization acceptance and selecting the correct portal, prevents delays.
- After submission, court review and acceptance are separate steps, requiring ongoing verification and record keeping.
Filing a legal affidavit used to mean trips to a courthouse, long lines, and stacks of paper. Today, Ontario courts and government agencies expect most submissions digitally, and if you have never navigated the Ontario Courts Public Portal or Justice Services Online before, the process can feel intimidating fast. The wrong file format, a missing notarization, or an upload to the wrong portal can stall your case by days or even weeks. This guide walks you through every step clearly, from what to prepare before you even log in, to what happens after you hit submit.
Table of Contents
- What you need before submitting your affidavit
- Step-by-step: How to submit your affidavit in Ontario
- Avoiding common mistakes and troubleshooting
- After you submit: What to expect and how to confirm
- What most guides miss: Digital affidavits need ongoing diligence
- Expert help for affidavits and online notarization in Ontario
- Frequently asked questions
Key Takeaways
| Point | Details |
|---|---|
| Prepare documents properly | Use notarized affidavits in PDF or DOCX format with all signatures completed before upload. |
| Choose the right portal | Submit through the Ontario Courts Public Portal for Toronto and Justice Services Online for other regions. |
| Follow each upload step | Login, select the correct filing type, upload your affidavit, pay fees, and confirm submission to avoid rejection. |
| Check for acceptance | Monitor your submission’s status and respond promptly to any court requests for correction or additional information. |
What you need before submitting your affidavit
Getting your documents in order before you open any portal saves time and prevents frustrating errors. Think of this stage as your pre-flight checklist. Skip it, and things go wrong at the worst possible moment.
Document format and technical requirements
Courts in Ontario are strict about file types. Court submission requires a PDF or DOCX document, notarized and prepared for upload. That means no JPEGs of handwritten pages, no Google Docs links, and no scanned images saved as Word files without proper formatting. Your PDF must be text-based, not a flat image scan, so court staff can search and annotate it.
Here is a quick reference for the most common technical requirements:
| Requirement | Accepted standard |
|---|---|
| File format | PDF or DOCX |
| Maximum file size | 20 MiB |
| Maximum page count | 500 pages |
| Signature type | Wet ink or digitally commissioned |
| Notarization | Required before upload |
Make sure your document is exported cleanly. If you created your affidavit in Microsoft Word, save it as PDF using the “Save As” function rather than printing to a PDF printer, which sometimes strips fonts and creates image-only files.
Notarization and commissioning requirements
Your affidavit must be signed and notarized or commissioned before you upload it. No portal will accept a blank signature block. In Ontario, commissioning of oaths is performed by a commissioner of oaths or a notary public. For straightforward documents, a commissioner of oaths is often sufficient. For documents going abroad or carrying greater legal weight, a notary public is the better choice.
Remote commissioning is allowed if courts or agencies accept it, so check with the specific court or government body receiving your affidavit before booking any appointment. Not every court has updated its internal policies to fully embrace remote options, even when provincial rules permit it. Reviewing the Ontario affidavit preparation process in detail before you start can save significant confusion later.
Account setup and portal registration
You need a My Ontario Account or a ServiceOntario account to access most filing portals. Set this up well in advance because email verification and identity confirmation can take a few hours. For businesses, you may also need your Ontario Business Number or corporation number on hand during registration. Individuals typically need government-issued ID details.

Pro Tip: Before scheduling your notarization appointment, confirm with your specific court that it accepts remotely commissioned affidavits. A quick phone call or email can save you from having to redo the entire signing process.
Here is a checklist of what to have ready before you start:
- Completed and signed affidavit in PDF or DOCX format
- Notarization or commissioning already completed (wet ink or remote)
- Active portal account with verified email
- Credit card or debit card for filing fees
- Case number or court file number if this is a follow-up filing
- Government-issued ID for identity verification if prompted
- Any supporting exhibits labeled and saved as separate files if required
If your affidavit includes exhibits, label each one clearly (Exhibit A, Exhibit B) and confirm whether the portal wants them as separate uploads or bundled into one file. Requirements vary. Understanding how to approach writing your affidavit correctly from the start reduces the chance of rejection.
Step-by-step: How to submit your affidavit in Ontario
With everything ready, let’s walk through the exact submission steps.
Choosing the right portal
Ontario uses two main portals for e-filing, and picking the wrong one wastes time. Use the Ontario Courts Public Portal (OCPP) for Toronto region filings; other Ontario regions use Justice Services Online (JSO). The distinction matters because each portal has different interfaces, different fee structures, and different technical support teams.
| Portal | Region served | Best for |
|---|---|---|
| Ontario Courts Public Portal (OCPP) | Toronto region | Civil, family, criminal, small claims |
| Justice Services Online (JSO) | Rest of Ontario | Civil, family, enforcement matters |
If you are unsure which region your court falls under, search the court’s address on the Ontario Courts website before logging in. Submitting to the wrong portal does not automatically transfer your filing.
The upload process, step by step
Follow these steps once you are logged in:
- Log in to your OCPP or JSO account using your verified credentials.
- Select your filing type. Civil, family, small claims, and enforcement matters each appear under different categories. Choose carefully. Selecting the wrong filing type can result in a rejection or a misfiled document.
- Enter your case information. Input the court file number if you already have one. For new matters, you will create a new file at this stage.
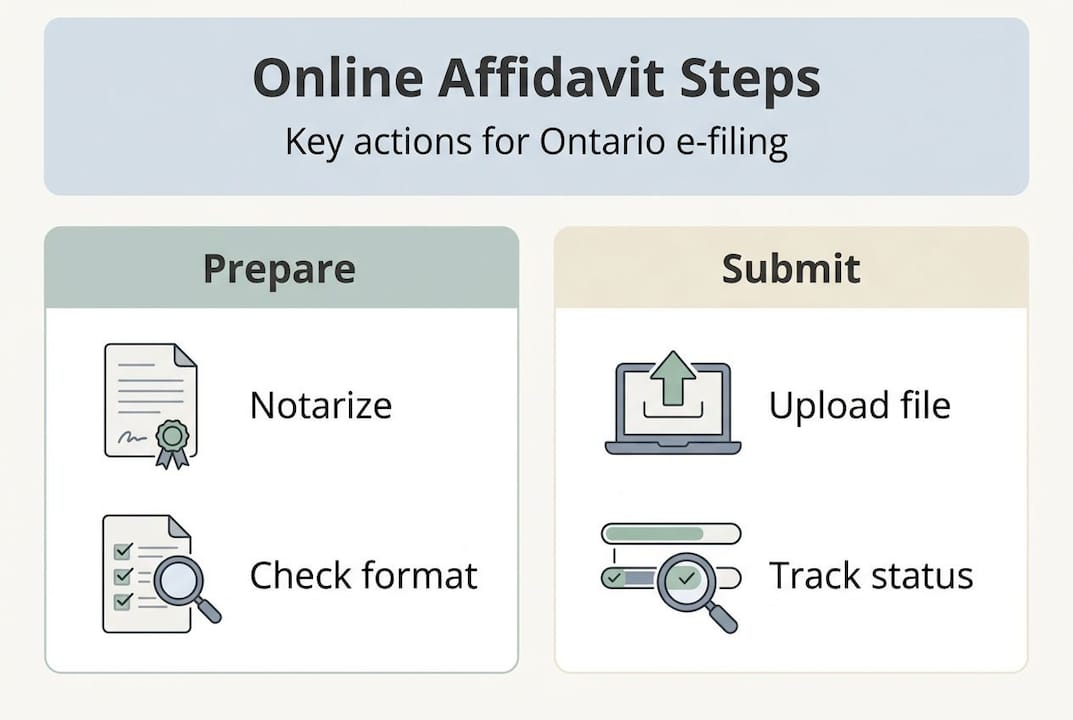
- Upload your document. The process includes logging in, selecting the filing type, uploading the document, paying fees, and submitting for review. Use the drag-and-drop tool or the file browser, and confirm the file name matches your document.
- Upload exhibits separately if the portal prompts you. Label them exactly as referenced in your affidavit.
- Review the summary screen. Check the document name, file size, and filing type one more time before proceeding.
- Pay the filing fee. Most matters require payment by credit or debit card. Fees vary by matter type and document count.
- Submit for review. After payment, the system generates a confirmation number. Screenshot or print this immediately.
Pro Tip: Before paying, open your uploaded document in the portal preview window to confirm all pages are present and readable. A corrupted upload discovered after payment creates unnecessary delays.
For a broader look at options available to you, our affidavit online guide walks through the different affidavit types and their typical e-filing pathways. If you are specifically dealing with property or registration matters, the affidavit for registration steps article offers targeted guidance.
Avoiding common mistakes and troubleshooting
Even with the right documentation, avoid missteps that can delay your filing.
The most common upload errors
Most rejected affidavits fail for the same handful of reasons. Knowing them in advance puts you ahead of 90 percent of first-time filers.
- Wrong file format. Submitting a JPEG, PNG, or unsupported file type is the number one reason for instant rejection. Always convert to PDF or DOCX first.
- Exceeding size or page limits. OCPP allows documents up to 20 MiB or 500 pages; check these specifics before uploading. A lengthy affidavit with multiple exhibits can easily exceed limits if not compressed properly.
- Unsigned or uncommissioned documents. Uploading a draft without a signature and seal is a common error, especially when people finalize and export in a hurry.
- Selecting the wrong matter type. Filing a family law affidavit under civil matters delays processing significantly.
- Mismatched case numbers. Typos in the case or court file number route your document to the wrong case entirely.
Important: Remote notarization is not universally accepted across all Ontario courts and agencies. Even though provincial rules permit it in many situations, individual courts retain discretion. Always verify acceptance with the receiving court before proceeding with a digitally commissioned signature. Understanding who can sign affidavits in Ontario helps you make the right call from the start.
Fixing failed uploads and rejected submissions
If your upload fails mid-process, do not refresh the browser immediately. Wait 30 seconds and check whether the portal shows a partial upload status. Refreshing too quickly can lock your session. If the portal times out completely, log out, clear your browser cache, and log back in before trying again. Using Google Chrome or Mozilla Firefox yields the best results on both OCPP and JSO.
If your submission is rejected after review, you will receive a notice either by email or within your portal dashboard. The notice will specify the reason. Common correction requests include providing a clearer scan, resubmitting with proper commissioning, or correcting the filing category. Address each issue listed before resubmitting. Do not just upload the same file again.
For technical issues that the portal cannot resolve on its own, contact the Court Services Division directly by phone during business hours. Response times vary, but most technical queries get resolved within one business day. For a deeper look at detailed affidavit guidance, including how to structure your document to pass review the first time, that resource covers formatting requirements in depth.
Pro Tip: Keep a local backup of every document you submit, including the version with the notary’s seal and signature, stored in a clearly labeled folder. If a re-submission is needed, you will have the correct version immediately at hand.
After you submit: What to expect and how to confirm
Once your affidavit is submitted, here is what you should anticipate next.
The court review process
Submission does not mean instant acceptance. After filing, court staff review documents before uploading them to Case Center, and you can check status online through your portal dashboard. This review step ensures documents meet formatting requirements, are correctly categorized, and carry valid signatures and commissioning. It is a manual process performed by court clerks, not an automated system.
Typical review timelines vary by court volume and matter type:
| Matter type | Typical review window |
|---|---|
| Small claims | 2 to 5 business days |
| Civil proceedings | 3 to 7 business days |
| Family law | 3 to 7 business days |
| Urgent motions | Same day or next day (if flagged) |
If your matter is urgent, call the court directly after submitting to flag it. Portals do not always have an automated urgency indicator for affidavits.
Tracking your status and confirming acceptance
Here is what to do after you submit to stay on top of your filing:
- Save your confirmation number. This is your proof of submission. Write it down and store it digitally.
- Check your portal dashboard daily. Status updates appear as “Under Review,” “Accepted,” “Rejected,” or “Correction Required.”
- Watch your email. Portal notifications go to the address tied to your account. Check your spam folder too.
- Log rejected communications carefully. If the court requests a correction, note the date, the reason given, and the date you resubmitted.
- Print or download the acceptance confirmation. Once your affidavit is officially filed, download the stamped copy from the portal immediately. This is your legal record of filing.
For businesses handling multiple filings, creating a simple tracking spreadsheet with columns for file name, submission date, confirmation number, and status can prevent missed deadlines and lost filings. Reviewing affidavit creation best practices helps you build documents that sail through review rather than bounce back.
The most critical thing to understand is that submission and acceptance are two separate events. Many people assume their case is handled once they click submit. It is not. Your affidavit is officially part of the court record only after the court stamps and accepts it.
What most guides miss: Digital affidavits need ongoing diligence
Most online resources give you the technical steps and stop there. Log in, upload, pay, done. But real-world affidavit filing in Ontario requires something most step-by-step guides never address: ongoing verification.
Court requirements change. A portal that accepted remote commissioning last quarter may have updated its internal policy this quarter without any public announcement. Courts in different regions interpret provincial rules with different degrees of flexibility. What works for a family law affidavit in Windsor may not work for a civil matter in Brampton.
This means treating e-filing as a one-time task is a mistake. Build verification into every submission. Call or email the receiving court before filing to confirm their current acceptance criteria for remotely commissioned documents. Ask whether their Case Center integration is current. Ask whether they have any backlog warnings that might affect your timeline.
Documentation is equally important. Save every piece of correspondence with the court, every confirmation number, and every status update. If a dispute arises about whether you filed on time or with the right credentials, your paper trail is your protection. Digital submissions leave a record, but only you can ensure you hold a copy of it.
The bigger picture is this: digital tools make affidavit filing faster and more accessible. But they do not replace the legal diligence that affidavits have always required. Technology streamlines the logistics. The legal responsibility remains entirely yours.
Expert help for affidavits and online notarization in Ontario
Need help getting your affidavit notarized, commissioned, or filed without the stress? The process moves much faster when an experienced professional handles the legal requirements so you can focus on your case.

Our trusted online notary service connects you with commissioned notaries and commissioners of oaths who handle affidavits, statutory declarations, solemn declarations, invitation letters, and more across Ontario. Whether you need a quick remote commissioning session or full support preparing your document for court submission, we offer both digital and in-person options. For urgent filings, same-day appointments are often available. Browse our full range of affidavit types in Ontario to find the service that matches your exact situation.
Frequently asked questions
What file formats are accepted when submitting affidavits online in Ontario?
Courts only accept files in PDF or DOCX format under 20 MiB and 500 pages for e-filing. Any other format will be rejected at the upload stage.
Can I use remote commissioning or online notarization for my affidavit?
Yes, if the specific court or agency accepts it. Some courts and agencies accept remote commissioning, but you should check their requirements before submitting to avoid rejection.
How do I choose the right portal to submit my affidavit?
OCPP is for Toronto, while JSO serves other Ontario regions. Submitting to the wrong portal does not automatically forward your affidavit to the correct court.
What happens after I submit my affidavit online?
Court staff review and upload e-filed documents to the Case Center after submission. You can track the status through your portal dashboard and will receive a notification once it is officially accepted.